


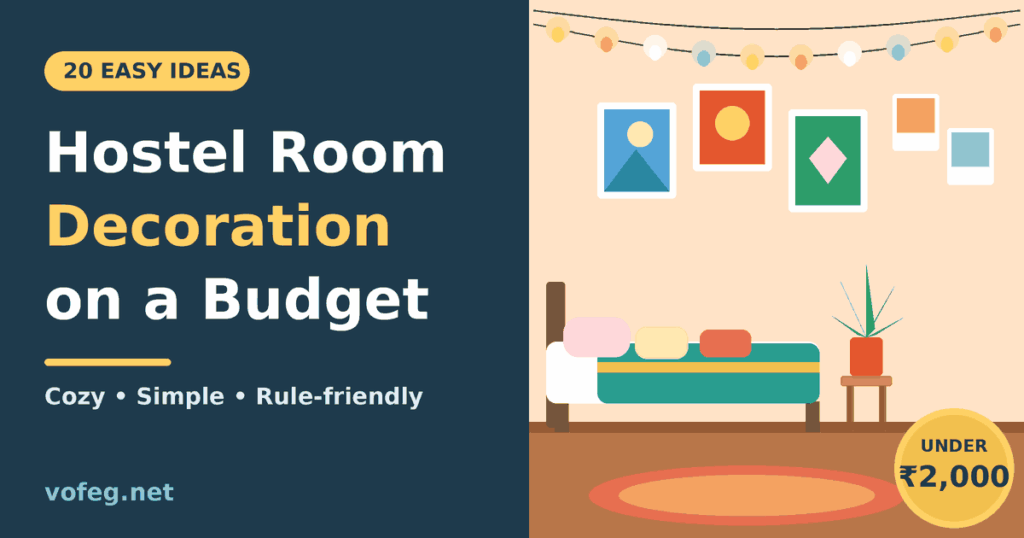
The first time you walk into your hostel room, it usually looks the same as everyone else’s: plain walls, a bed, a cupboard, and a table that has seen better days. It doesn’t feel like yours yet.
The good news is you don’t need a big budget to change that. With a few smart buys, some DIY, and a bit of creativity, you can turn a boring room into a space where you actually enjoy studying and sleeping. And you can do most of it for under ₹2,000.
Before you start, one important thing: check your hostel rules first. Many hostels don’t allow nails, paint, or heavy electrical items. Everything below is designed to work within common hostel restrictions.
Start with a plan, not a shopping spree
Most people buy random things in the first week and end up with clutter. Instead:
- Pick two or three colours you like and stick to them.
- Measure your space, including bed, wall, and desk area.
- Ask your roommate what they’re okay with. It’s a shared room, so decide together.
- Set a budget and a priority list before you buy anything.
Sample budget breakdown
| Item | Approx. cost (₹) |
|---|---|
| Fairy lights | 150 – 300 |
| Wall posters or prints | 200 – 400 |
| Removable adhesive hooks and strips | 150 – 250 |
| Bedsheet and cushion covers | 400 – 800 |
| Small plant or artificial greenery | 100 – 300 |
| Storage baskets or boxes | 200 – 500 |
| Desk organizer | 100 – 250 |
| Total | ₹1,300 – ₹2,800 |
You can cut this further by using what you already have.
20 budget-friendly hostel room decoration ideas
Walls
1. Use removable adhesive strips instead of nails. Brands like Command make hooks and strips that come off without damaging paint. They’re perfect for hostel walls.
2. Create a photo wall. Print photos of family and friends for a few rupees each and stick them in a grid or a simple curve. It makes the room feel less lonely, especially in the first few weeks.
3. Put up posters. Choose posters you actually care about, like motivational quotes, anime, movies, or travel destinations. Avoid covering the whole wall. Too much looks messy.
4. Hang a tapestry or fabric. A cheap cloth or banner can cover a stained or dull wall instantly. Use adhesive hooks to hang it.
5. Try washi tape designs. This is one of the cheapest ways to make shapes, borders, or frames on a wall without any damage.
Lighting
6. Warm fairy lights. Warm white lights make the room feel cozy compared to harsh tube lights. Use battery-operated ones if sockets are limited.
7. Add a small desk lamp. A study lamp saves your eyes and gives you your own light when your roommate wants to sleep.
8. Use LED strips carefully. They look good, but check whether your hostel allows them. Always avoid overloading sockets. The National Disaster Management Authority provides basic fire safety guidance worth reading, since overloaded extension boards are a common hostel risk.
Bed and corners
9. Get a good bedsheet and cushion covers. Your bed is the largest thing in the room. A clean, colourful set changes the whole look.
10. Use a light blanket or throw. It adds colour and doubles as an extra layer on cold nights.
11. Add a bedside caddy or hanging organizer. It keeps your phone, charger, and glasses in one place and saves floor space.
12. Create a reading corner. One bean bag or a cushion with a small lamp is enough to make a corner feel special.
Desk and study area
13. Use a desk organizer. Pen stands, file holders, and small trays keep the table tidy. A clean desk makes it easier to sit down and study.
14. Add a small whiteboard or corkboard. Use it for timetables, to-do lists, or exam dates. Visible goals help.
15. Keep one motivational item. A quote, a goal card, or a small picture that reminds you why you’re here.
Plants and extras
16. Add a small plant. A money plant or a snake plant survives low light and needs little care. If you can’t manage real plants, artificial greenery works too.
17. Use curtains or door hangings. If your room lacks privacy or looks bare, a simple curtain in your colour theme makes a difference.
18. Add a rug or a mat. A small rug under your study area makes the room feel finished and softer underfoot.
Storage and organization
19. Use baskets and boxes. They hide clutter and keep things sorted. Under-bed storage is great for suitcases and extra shoes.
20. Try a hanging shoe organizer. It’s a cheap way to store toiletries, snacks, or small items on the back of a door.
DIY ideas that cost almost nothing
- Paper garlands or origami hangings made from old notebook pages or colourful paper
- Decorated jars for pens, brushes, or small plants
- Handmade wall art using paint, markers, or even old magazines
- Calendar or planner wall made from chart paper
- Painted cardboard boxes turned into shelves or storage
If you’re stuck for ideas, IKEA India has useful small-space and student room inspiration pages, even if you don’t plan to buy anything from there.
Tips to make a small shared room feel bigger
- Keep colours light and consistent.
- Avoid placing too many items on the floor.
- Use vertical space with hooks, shelves, and hanging organizers.
- Keep your side of the room tidy. Clutter makes small rooms feel smaller.
- Put a mirror on one wall to reflect light.
Mistakes to avoid
- Breaking hostel rules. Nails, paint, or banned electrical items can lead to fines or warnings.
- Overspending in the first week. Wait until you’ve lived in the room for a few days to see what you really need.
- Ignoring your roommate. Decorate together, or at least agree on shared areas.
- Overloading sockets. It’s unsafe and often against hostel policy.
- Buying too much decor. More items mean more dust, more clutter, and harder packing when you leave.
Quick checklist before you decorate
- Read the hostel rules on walls, lights, and appliances
- Talk to your roommate and agree on a theme
- Set a budget (₹1,500 to ₹2,500 is realistic)
- Buy adhesive hooks, fairy lights, bedsheet, and organizer first
- Add plants and wall decor after a week
- Keep it simple and easy to pack at the end of the year
Final thoughts
You spend a lot of time in your hostel room. It’s where you study, sleep, stress, laugh, and grow. A few small changes can make it feel warm and personal without costing much. Start with lighting and bedding, then add things slowly as you figure out what you need.
Remember: the best hostel room isn’t the most decorated one. It’s the one where you feel comfortable enough to relax and focused enough to work.
FAQs
1. How can I decorate my hostel room without damaging the walls?
Use removable adhesive hooks, washi tape, and poster strips. They hold well and come off without leaving marks or peeling paint.
2. How much does it cost to decorate a hostel room?
You can do a good job in ₹1,500 to ₹2,500. Basic items like fairy lights, bedsheets, an organizer, and a few posters are enough.
3. Can I use fairy lights in a hostel room?
In most hostels, yes, but check your rules first. Battery-operated lights are the safest option. Avoid overloading sockets or leaving lights on overnight.
4. What are the best colours for a small hostel room?
Light shades like white, beige, pastel blue, and soft grey make a room look bigger and brighter. You can add one bold colour as an accent.
5. How do I decorate a shared hostel room with a roommate?
Agree on a colour theme, split costs, and decide which areas are shared and which are personal. A little planning avoids arguments later.
6. Can I keep plants in a hostel room?
Yes. Low-maintenance plants like a money plant or snake plant work well. If you travel often, artificial plants are an easier option.
7. What should I decorate first in a hostel room?
Start with your bed, desk, and lighting. They have the biggest effect on comfort and mood. Wall decor can come later.